No Compromise
No Excuses
No Limits

|
No Compromise |
|
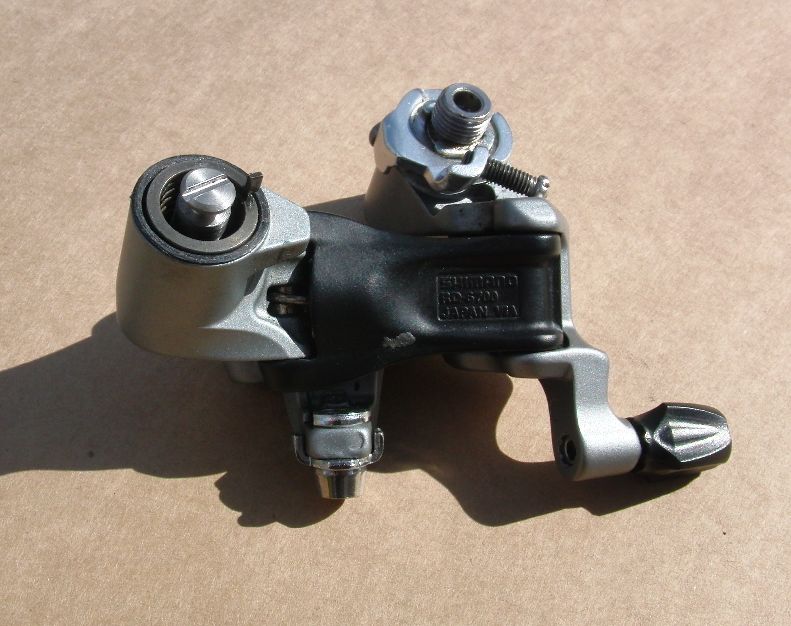
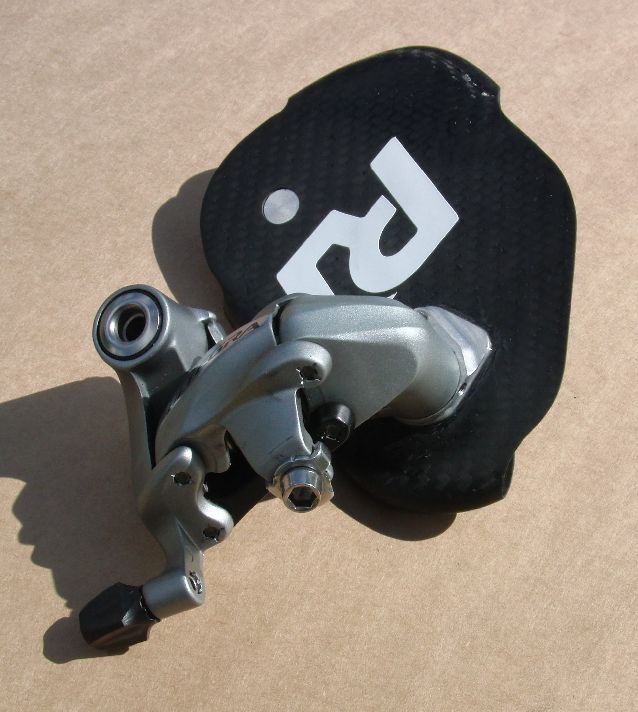
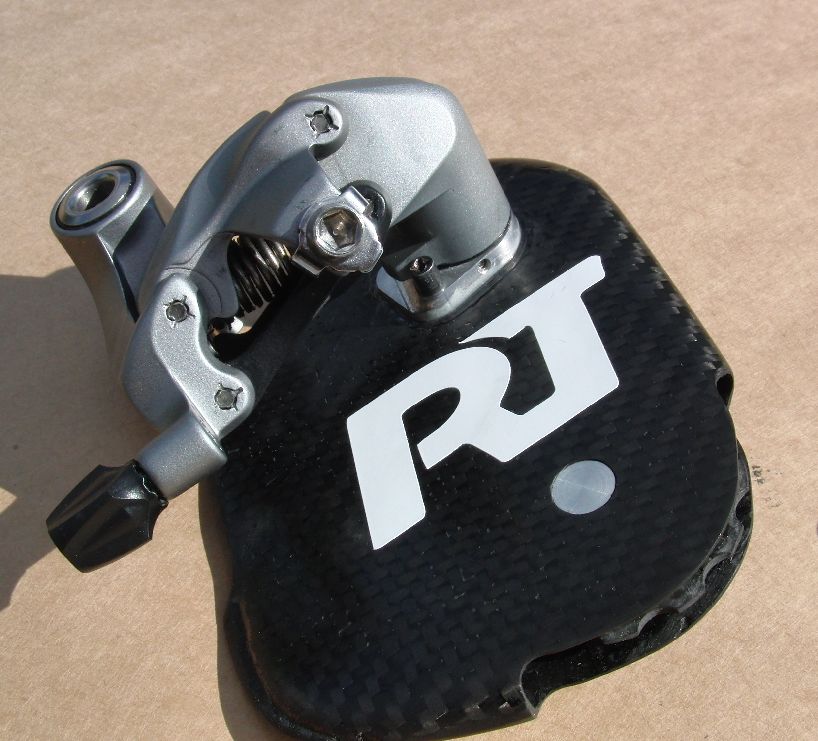
Instructions for RALTech Rear Mech Cage These instructions are applicable to Shimano rear derailleur types 6700, 6770, 6800, 6870, 7700, 7800, 7900, 7970, 9000 and 9070. These are the models where the original cage pivots on a large bolt which passes through the cage and screws into the derailleur body. You should have:- Dismantling 1. Take off the chain and remove the rear mech from the frame. 2. Remove the tension stop screw from the outer plate. This will allow the cage to rotate until there is no return tension. Keep the stop screw; you will re-use it later.
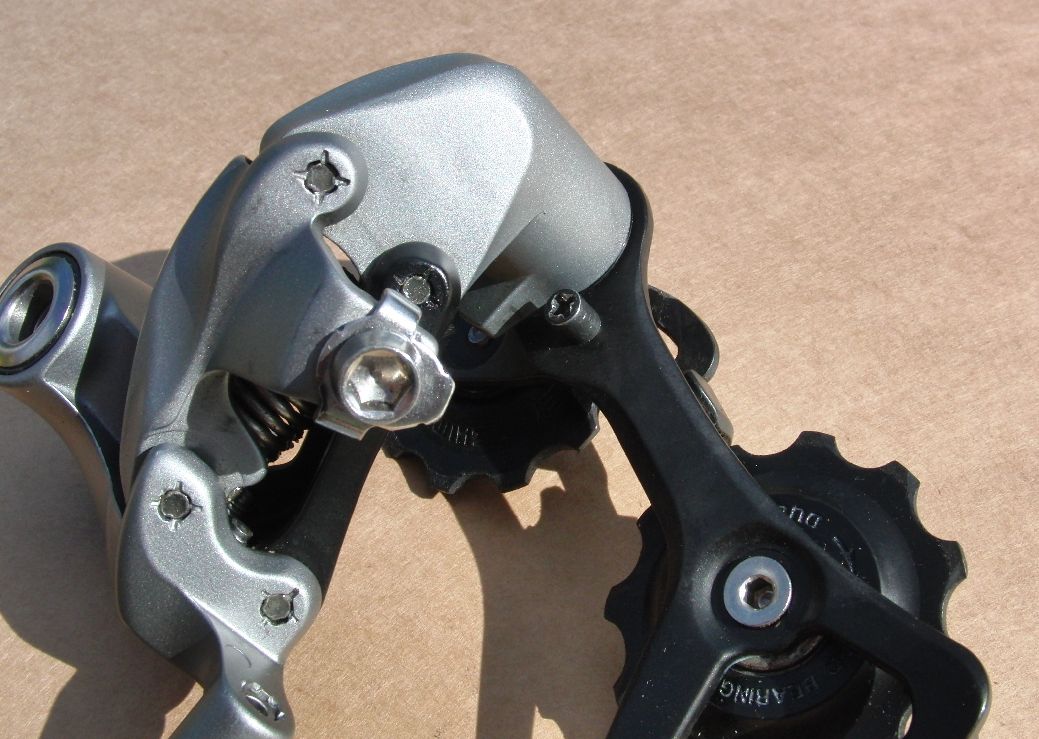
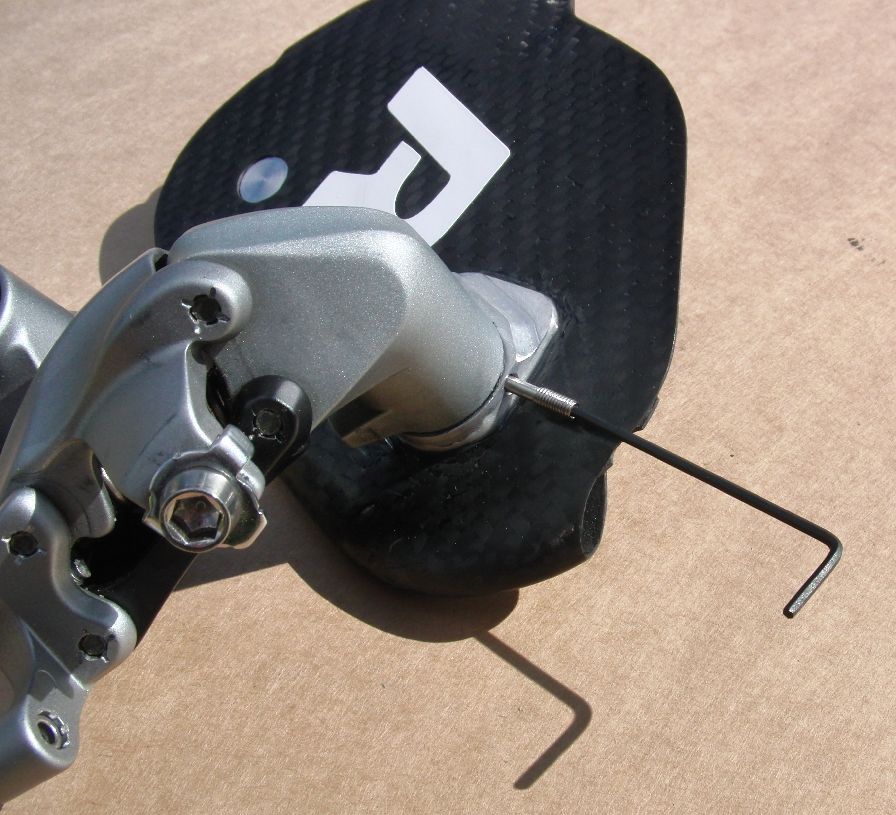
3. Remove the top pulley and slacken the screw for the lower pulley, so the inner cage plate can be rotated clear of the cage pivot screw.
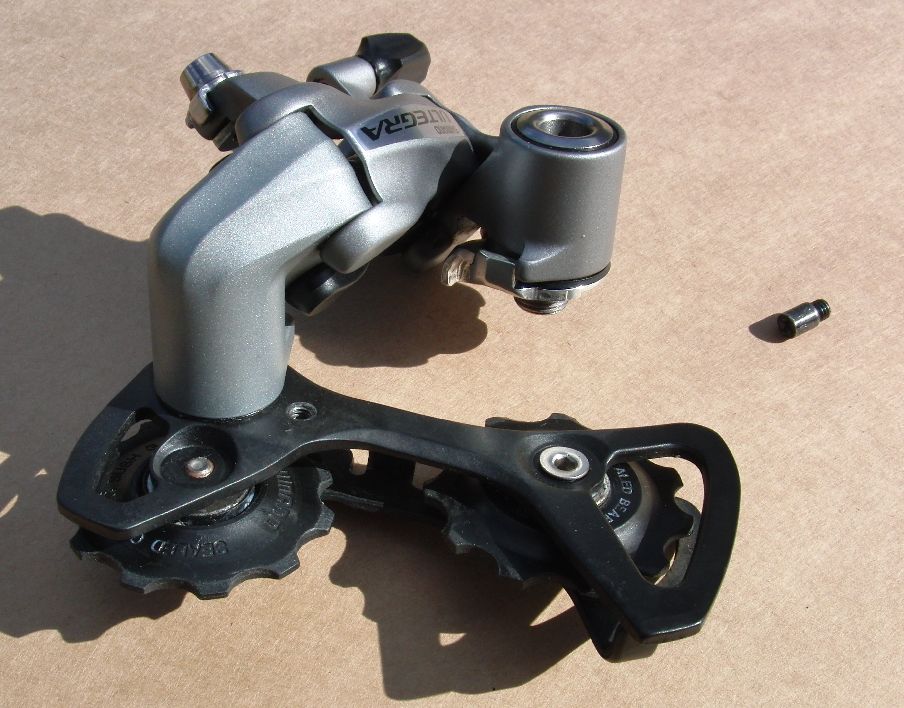
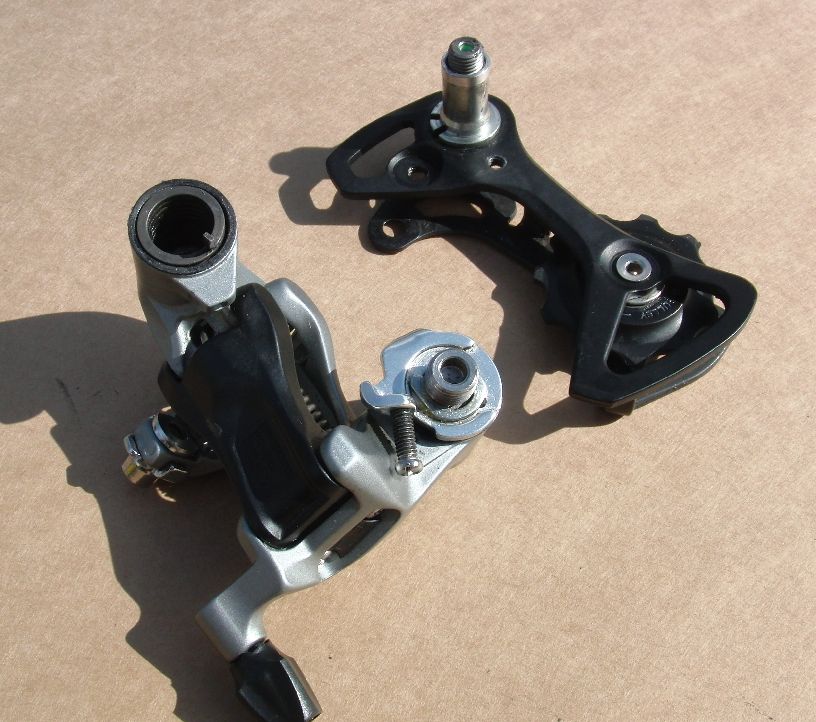
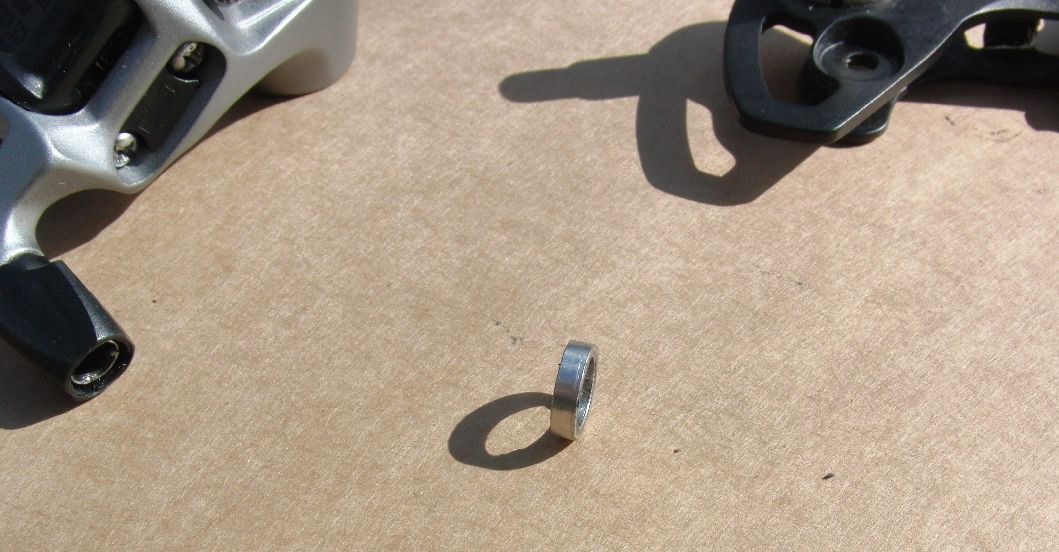
4. Remove the cage pivot screw and take off the cage assembly. Ensure that you have also removed the small spacer. The spring can be left in place or removed to improve access and visibility.
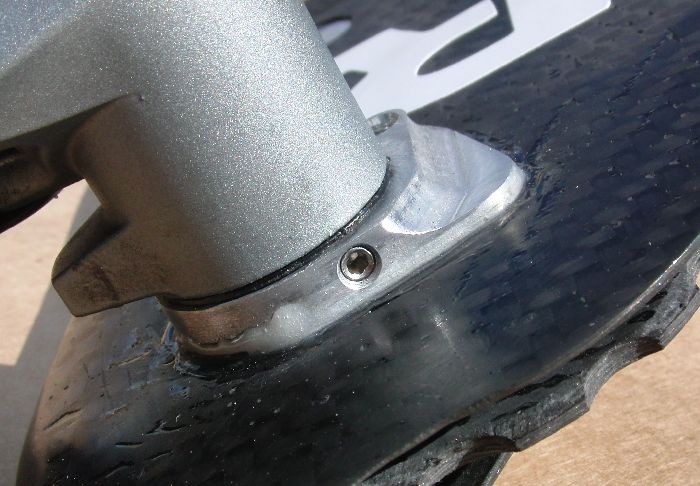
Assembly 5. Fit the spacer supplied (shorter than the original) to the main pivot and screw in place. Tighten securely.
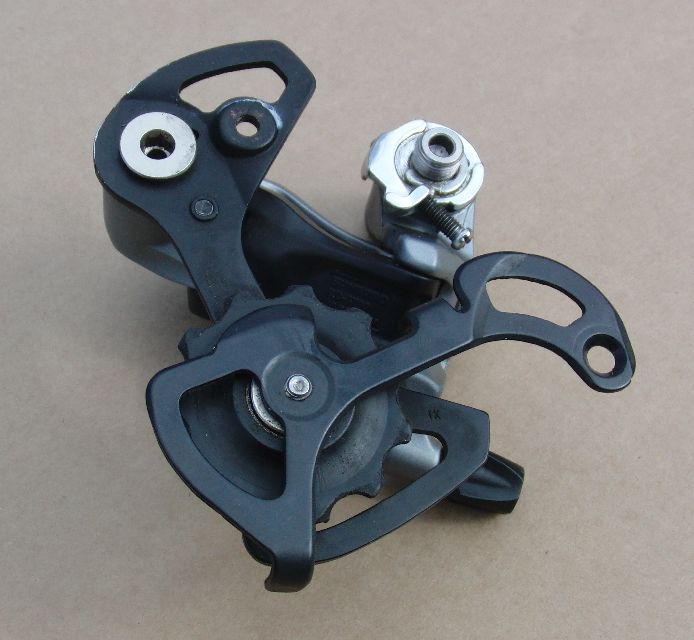
6. Make sure the spring is in place in the derailleur body and the tang is correctly located. Slide the cage assembly on to the main pivot, locating the second tang into the correct hole as determined from the table, below:-
When the spring is slack, the cage should point approximately vertically up from the derailleur body.
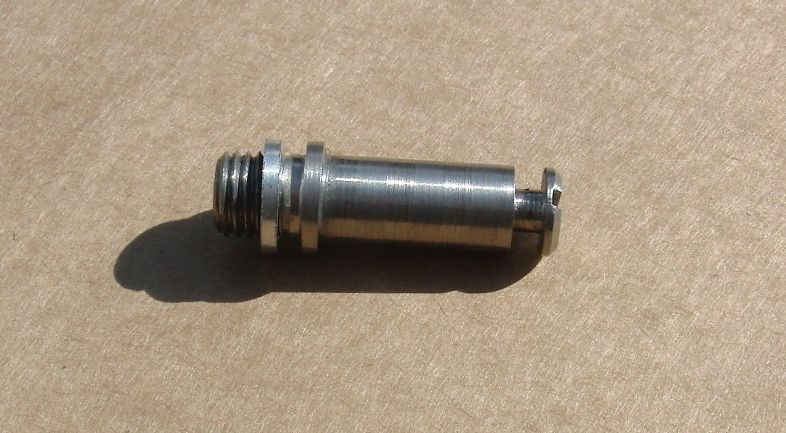
7. Push the cage assembly all the way into the main pivot and fit the retaining pin. Screw in place until it is flush with the body.
8. Rotate the cage to apply tension and re-fit the stop screw.
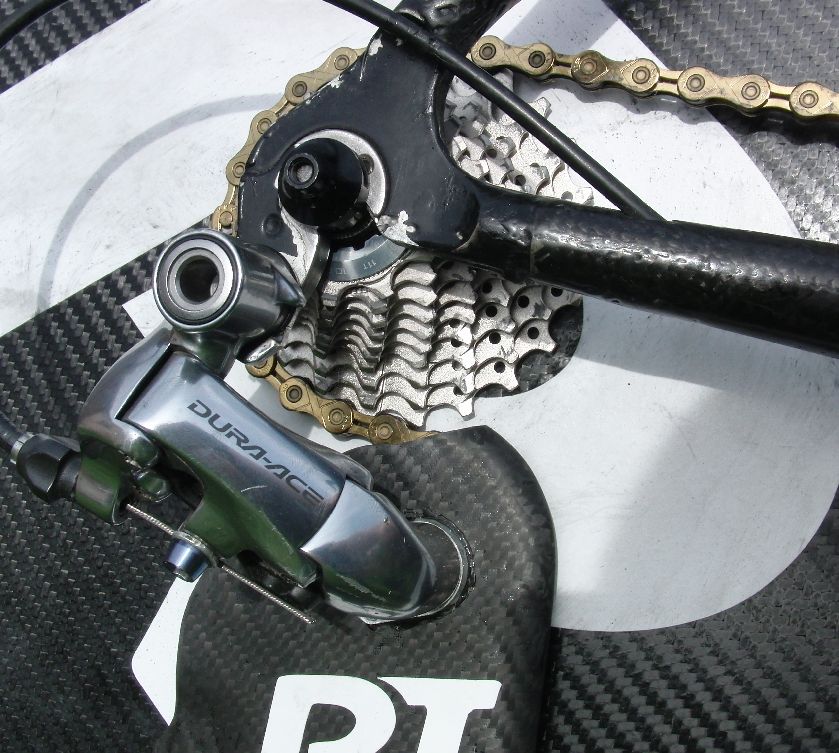
Adjustment 9. Fit the derailleur to the frame and thread the chain in the usual way. 10. Adjust chain length for optimum performance. You will probably need a longer chain than with the standard cage. Particularly make sure that when the chain is at its tightest (big chainring and largest sprocket that you would use with the big chainring - usually second sprocket) the top of the cage does not contact the sprocket teeth. THIS IS IMPORTANT - if the sprocket gets caught in the top of the cage, Bad Things may happen.
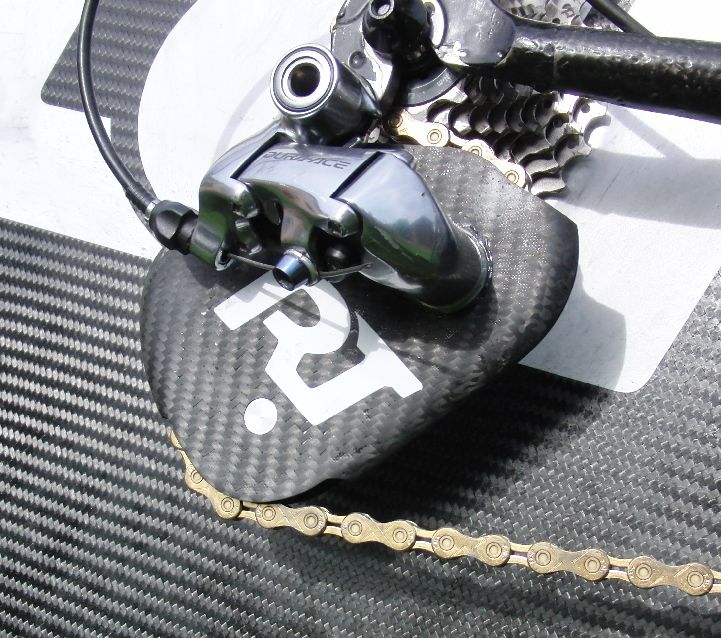
11. Also check that the tension and cage angle are acceptable when using the small chainring, if fitted. If you have a big difference between chainring sizes, you may have to limit the amount of chain crossover. e.g. on the big ring, the first two sprockets may be unavailable and when using the small ring, the outer two sprockets may create too much slack.
12. Adjust the indexing and limit stops on the derailleur. The axial offset with the new cage will be slightly different to the original.
|
Derailleur Cages are available here. |
© 2015 RAL Technology |
on Facebook. |