No Compromise
No Excuses
No Limits

|
No Compromise |
|
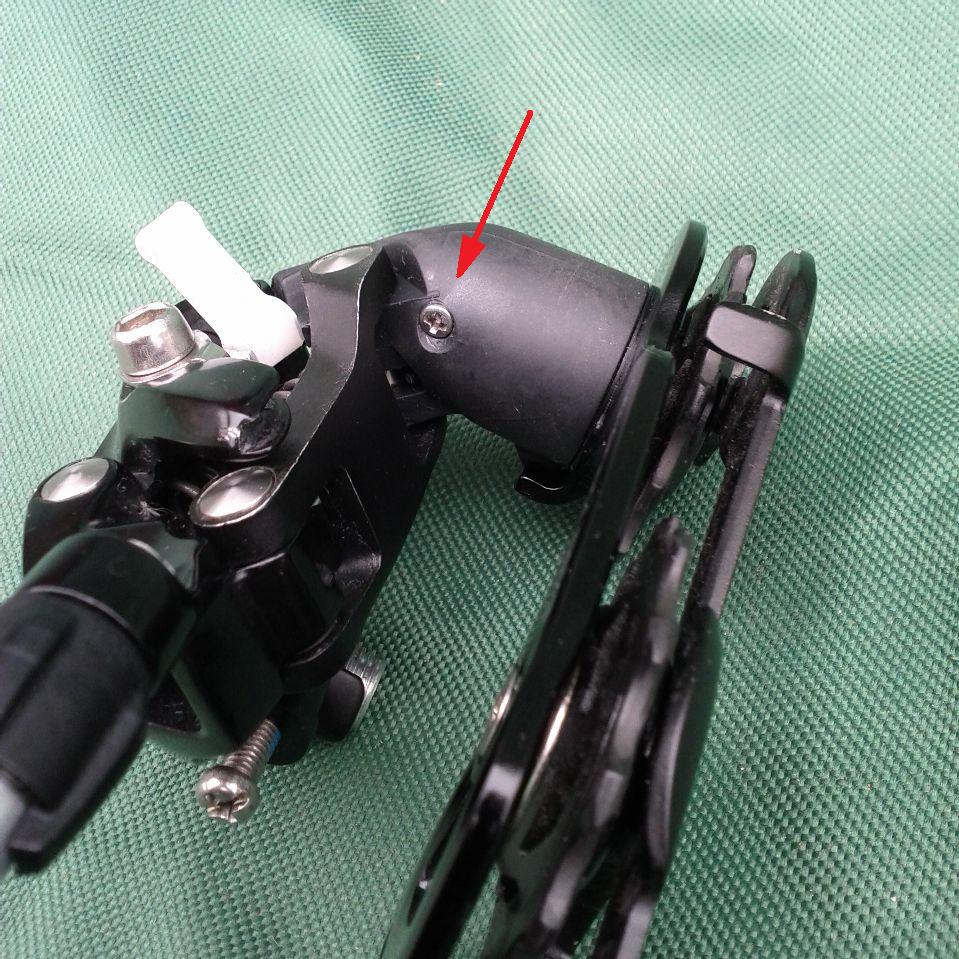
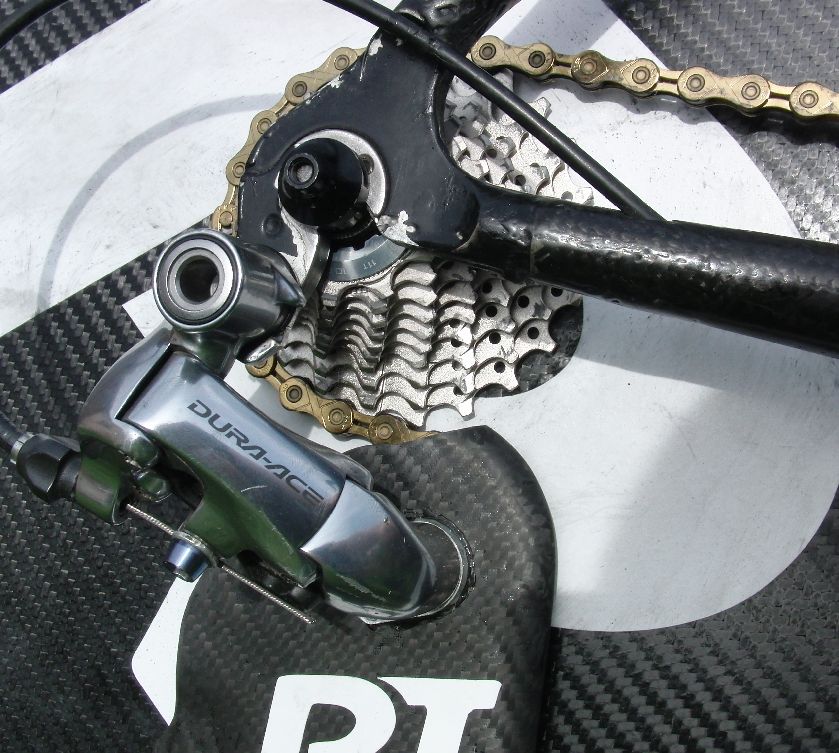
Instructions for RALTech Rear Mech Cage These instructions are applicable to SRAM rear derailleur models Rival, Force and Red. Dismantling 1. Take off the chain and remove the rear mech from the frame. 2. While holding the cage in place, remove the retaining screw located on the lower part of the derailleur body. It is easier to do this if you can lock the parallelogram in a partly extended position, either with a small block or by refitting the gear cable to pull the cage across.
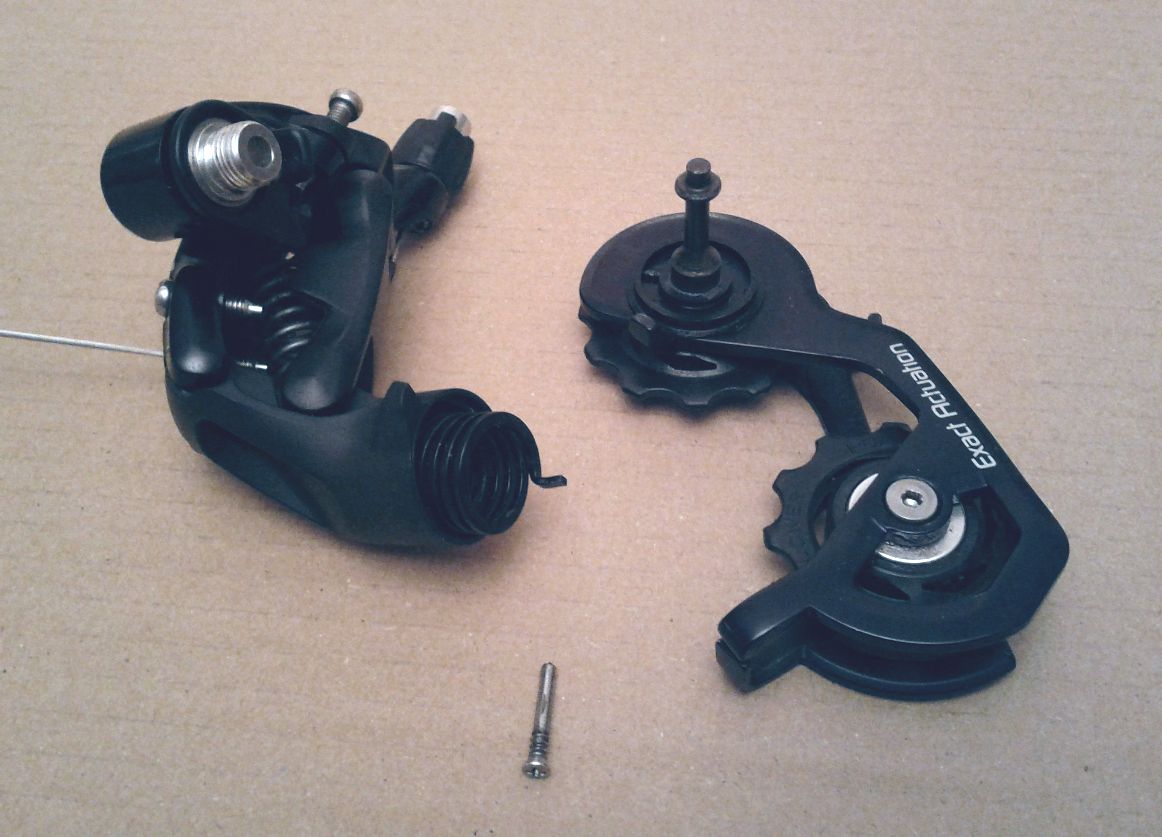
3. Carefully pull the cage away from the body and as soon as the end stop is clear off the boss, rotate the cage to remove the spring tension. Now continue to remove the cage completely.
Assembly 4. Make sure the spring is in place in the derailleur body and the tang is correctly located. Slide the cage assembly on to the main pivot, locating the second tang into the hole.
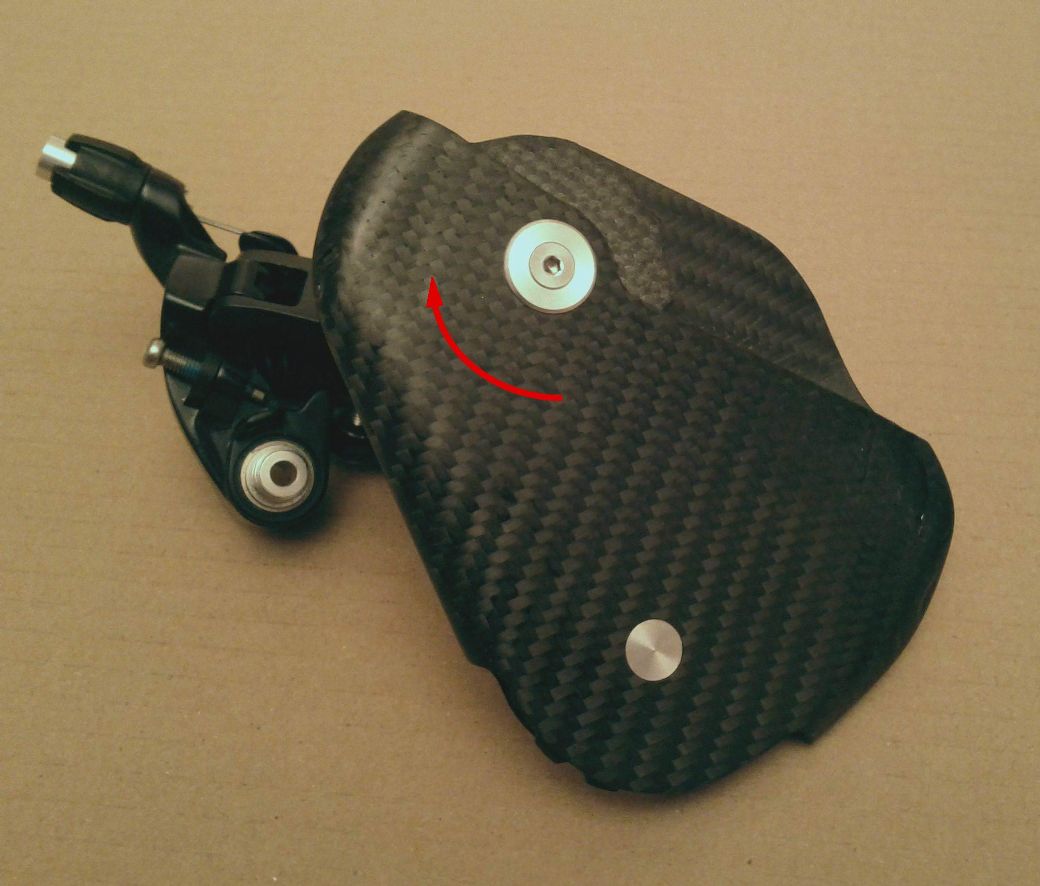
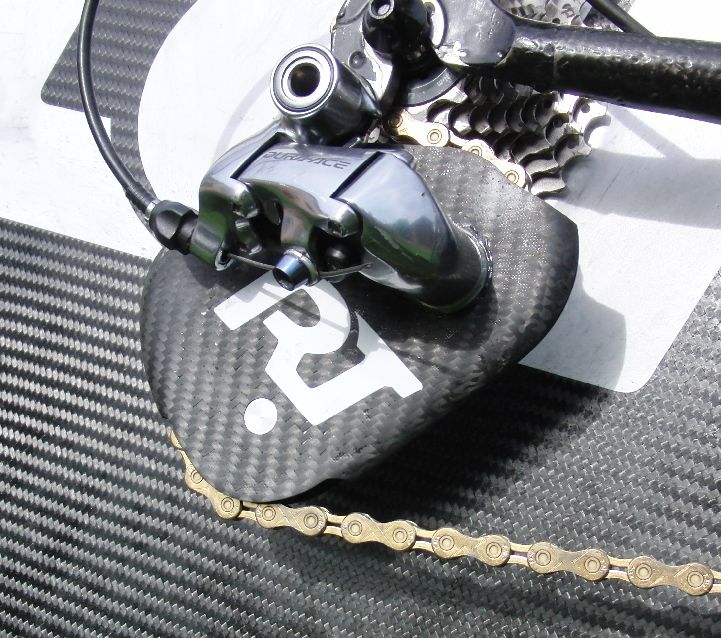
5. Re-fit the retaining pin and check that the cage rotates freely. Adjustment 6. Fit the derailleur to the frame and thread the chain in the usual way. 7. Adjust chain length for optimum performance. You will probably need more links in the chain than with the standard cage. Particularly make sure that when the chain is at its tightest (big chainring and largest sprocket that you would use with the big chainring - usually second sprocket) the top of the cage does not contact the sprocket teeth. Adjustment of the B-Tension screw may increase the clearance. As a guide, the angle of the cage should not be significantly forward of the vertical in the tightest case.
8. Also check that the tension and cage angle are acceptable when using the small chainring, if fitted. If you have a big difference between chainring sizes, you may have to limit the amount of chain crossover. e.g. on the big ring, the inner two sprockets may be unavailable and when using the small ring, the outer two sprockets may create too much slack.
9. Adjust the indexing and limit stops on the derailleur. The axial offset with the new cage will be slightly different to the original.
|
Derailleur Cages are available here. |
© 2015 RAL Technology |
on Facebook. |